My Final project
The idea behind my project is to create a automatic box that will have an automated opening and closing lid function , on the command of a push button.
Process of designing
- Planning and design thinking
- Designing the box and the varoous parts required using fusion 360
- 3D printing and 2D computed controlled machining of the parts
- Creating the electronics (PCB board)
- Interface and programming
- Assembling everything together
Components needed for the Project
- 12 mm thickness wood - For pieces of the Box
- 5mm wood for the box lid
- Attiny 85 board
- momentary push button - input
- stepper motor - output
- ISP programmer
- Rack and pinion
- motor stand
| |
This is an image of the Box that i have created. |
| |
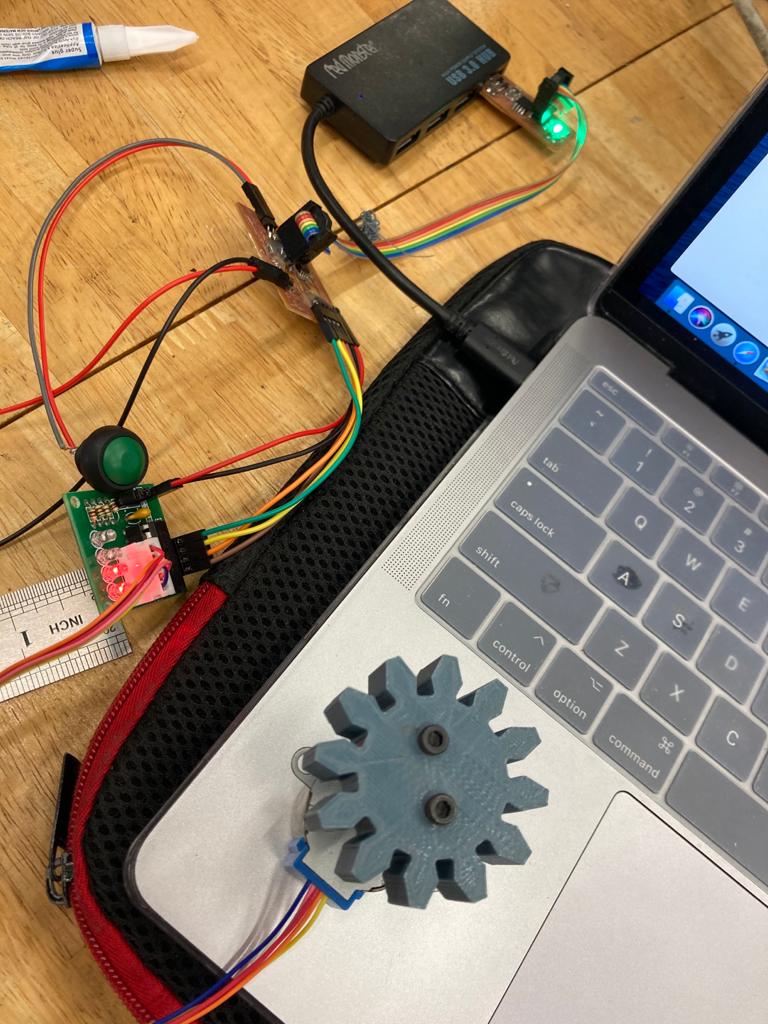
This is an image of the rack and pinion gear i have created to provide mechanism for the automated opening and closing of the lid . |
| |
This is an image of how the stand would look like , to hold the motor in place. |
Fusion eagle PCB board schematic
| |
This is the image of the schematic of my tiny 85 board i have created using the eagle software. |
| |
|
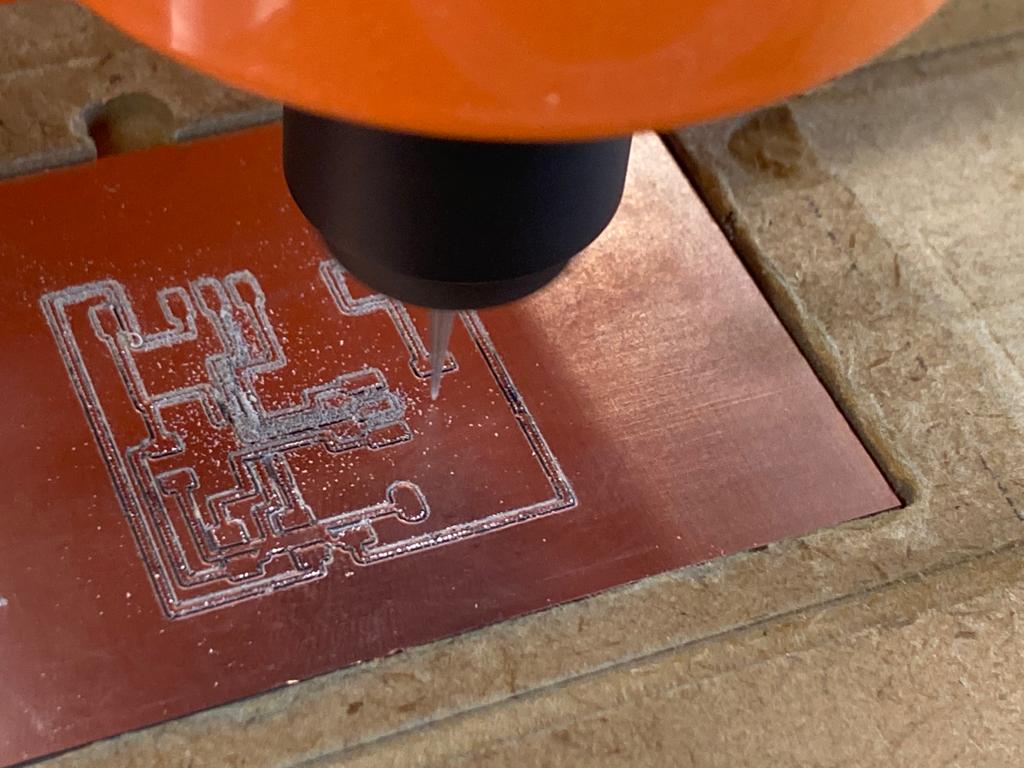 |
milling of my tiny85 board |
Computer Controlled Machining
With my design i have created in fusion 360 , i export it into the software Vcarve pro' to generate the toolpath needed to cut the pieces of my box
 |
Using Vcarve pro. Once file has been generated , it is ready to cut. |
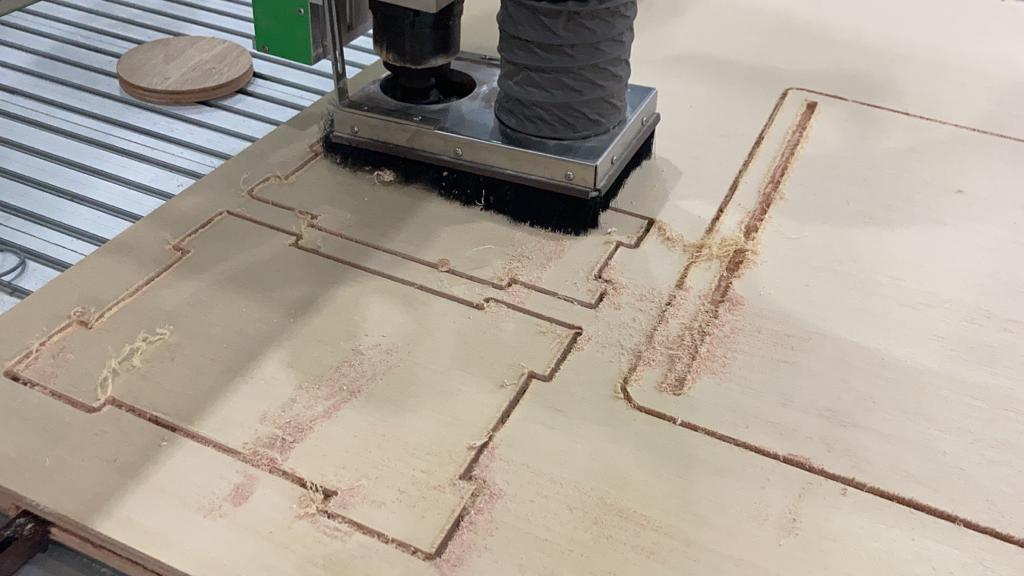 |
These are some images of the process. |
| |
 |
|
| |
Here's the programme for this project. |
| |
|
| |
|
| |
|
| |
Final Product
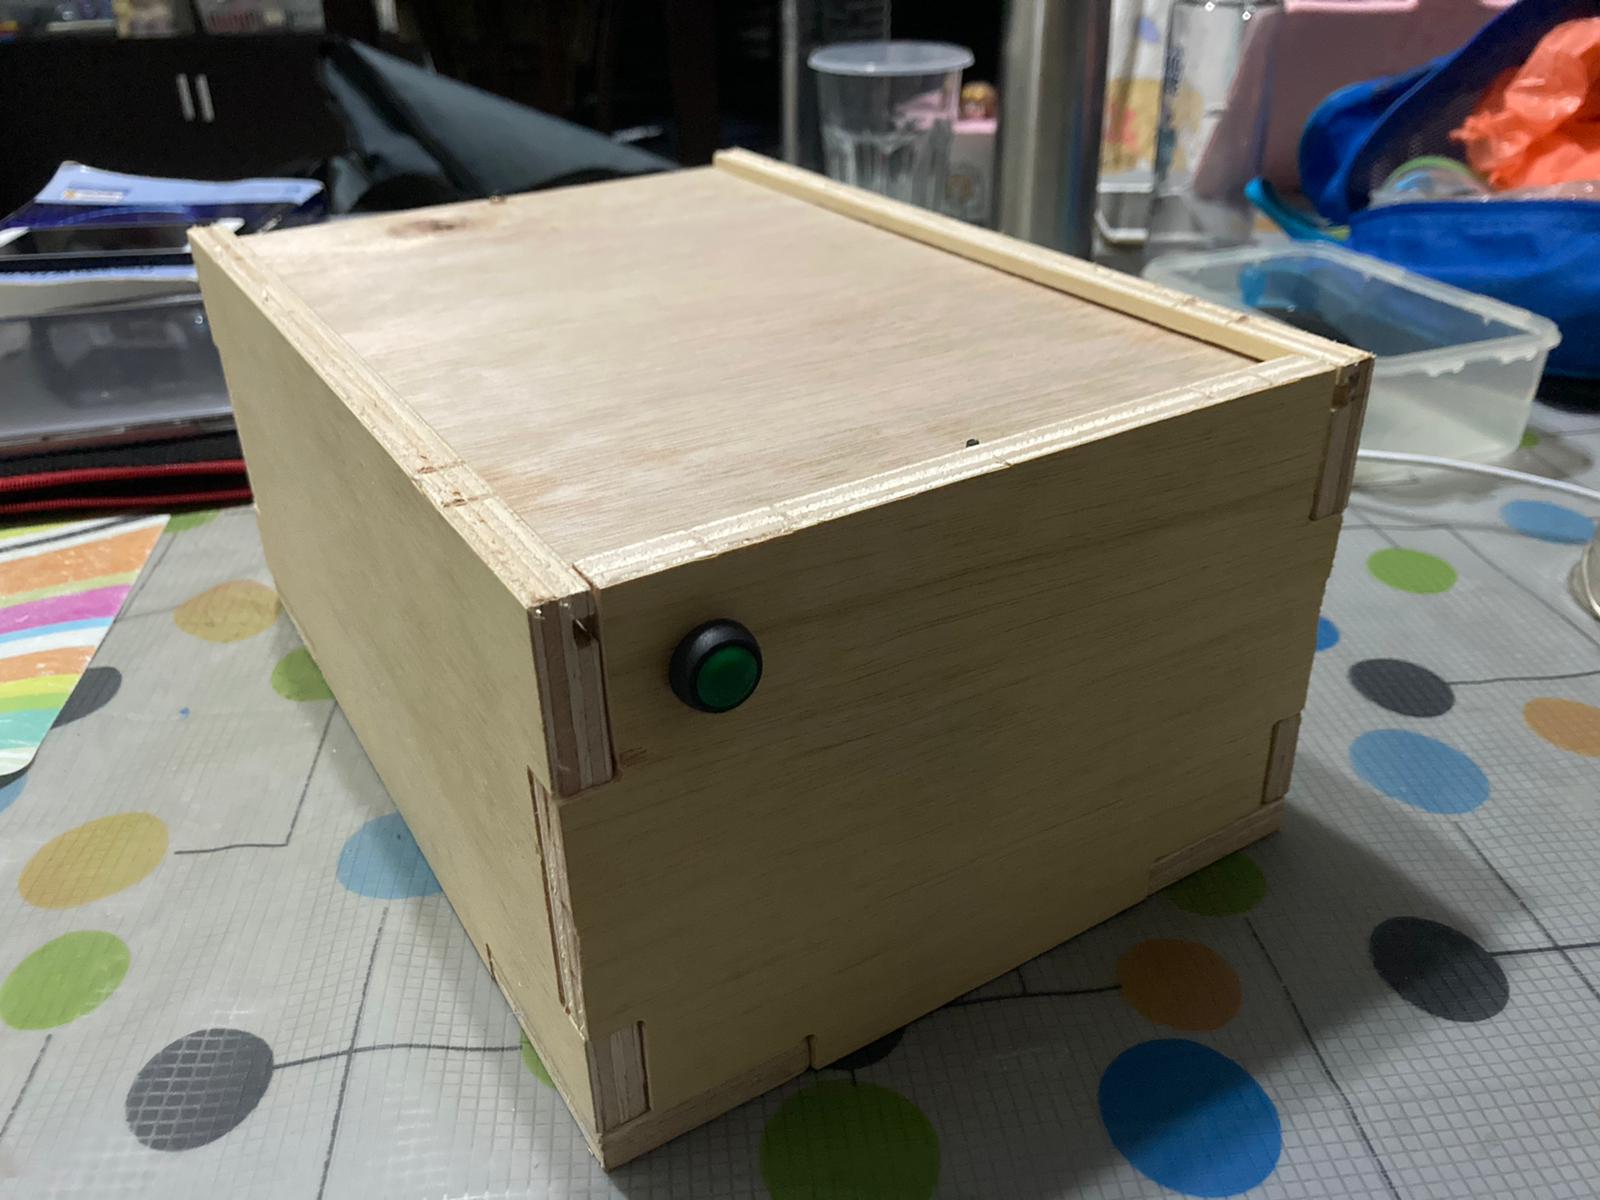 |
Here's the final product after assembling everything together |
| |